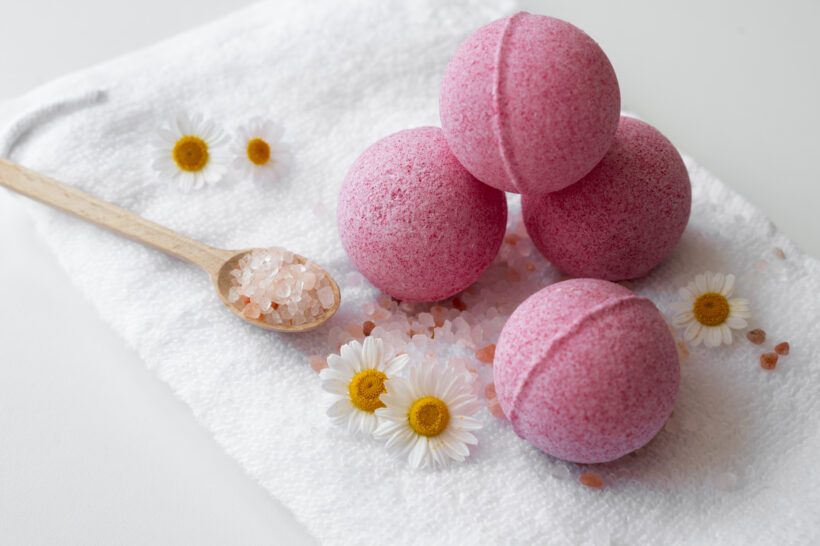
Introduction:
Bath bombs have become a popular indulgence, transforming ordinary baths into luxurious and relaxing experiences. Instead of splurging on store-bought options, why not try making your own personalized bath bombs? So, In this article, we’ll take you through a simple and enjoyable process to create bath bombs that suit your preferences and leave you feeling pampered.
Ingredients:
- Dry Ingredients:
- 1 cup baking soda
- 1/2 cup citric acid
- 0.5 cup cornstarch
- 1/2 cup Epsom salt
- Wet Ingredients:
- 2 1/2 tablespoons coconut oil (melted)
- 3/4 tablespoon water
- 1 tablespoon essential oil (e.g., lavender, peppermint, or eucalyptus)
- Additional Materials:
- Bath bomb molds (available online or at craft stores)
- Food coloring (optional)
- Dried flowers or herbs for decoration (optional)
Instructions:
- Prepare Your Workstation: Set up a clean and dry workspace. Gather all your ingredients and materials to make the process smooth and enjoyable.
- Combine Dry Ingredients: In a mixing bowl, whisk together the baking soda, citric acid, cornstarch, and Epsom salt. Ensure that the mixture is well combined and free of lumps.
- Mix Wet Ingredients: In a separate container, mix the melted coconut oil, water, and your chosen essential oil. Also, If you want to add color to your bath bombs, you can include a few drops of food coloring to the wet ingredients.
- Gradually Combine Wet and Dry Mixtures: Slowly add the wet mixture to the dry ingredients, stirring continuously. Be cautious to add it gradually to avoid fizzing. The ideal consistency is similar to wet sand and should clump together when squeezed.
- Pack the Mixture into Molds: Fill each half of your bath bomb mold with the mixture, pressing it in firmly. Moreover, you can get creative by adding dried flowers or herbs to the mold for an extra touch.
- Combine the Molds: Press both halves of the mold together firmly, twisting slightly to ensure a tight seal. Thus, If you’re using a spherical mold, you’ll have a perfect round bath bomb.
- Let Them Set: Allow your bath bombs to set in the molds for at least 24 hours. This ensures that they harden and hold their shape.
- Carefully Remove from Molds: Once set, carefully remove the bath bombs from the molds. Be gentle to avoid any breakage.
- Store in an Airtight Container: To keep your bath bombs fresh, store them in an airtight container. Furthermore, this prevents them from absorbing moisture and losing their fizziness.
Enjoy Your DIY Bath Bombs:
Congratulations! You’ve just created your own batch of delightful bath bombs. So, treat yourself to a relaxing soak in the tub and revel in the satisfaction of crafting a luxurious experience tailored to your preferences. Moreover, experiment with different scents, colors, and shapes to make your bath time truly indulgent and personal.
Disclaimer: This article is provided for informational purposes only and does not constitute financial, investment, or legal advice. The author and publisher are not responsible for any decisions made based on the information provided. In addition, readers are advised to seek professional advice for their specific circumstances. Any reliance on the information in this article is at the reader’s own risk.
To read more, click here
Thank You For Reading, feel free to ask any questions in the comment section below.
Follow us on Social Media Platforms,
Click Here: Instagram, Facebook, YouTube, and Twitter
Stay Informed, Stay Responsible with My Finance World!


